Personalize messages using custom fields
Custom fields play a key role in managing your customer data. Not only does it give you enormous flexibility when it comes to collecting or importing data, it also lets you quickly and easily personalize each message in a mass text campaign.
Learn all about custom fields in this step-by-step help center article. 📖
Video transcript
Hi there, and welcome to SimpleTexting Academy.
Today we’re going to show you how to personalize your text using custom fields.
First, go to your Contacts panel, then choose Custom fields.
Here you’ll see several fields which we include by default, such as first name, last name, and email.
But what if you want to add a field that’s specific to your business?
Creating custom fields
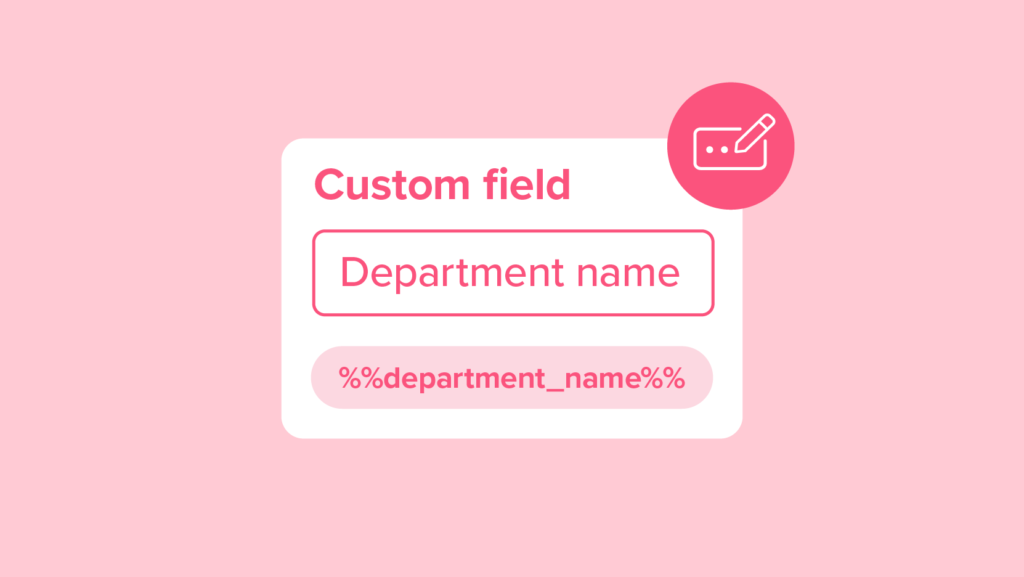
Click on the type of field you want to add at the top. For example, let’s say we want to include a field for a specific department.
We’ll click text, and type out “Department Name.”
In order to populate these fields with information, you’ll need to either use our data collection tool, import the info, or add it in manually.
Insert fields into messages
Let’s put our custom field to use in an actual message. Go to Campaigns and click New.
Let’s imagine we’re sending out an announcement about an employee get-together.
Give your campaign a name for reference. Let’s call this one “Employee get-together.”
We’ll type out our message:
“Hi there.” Okay, here we’ll include the contact’s first name. Click on the custom field button and choose Contact first name.
“Get together for the”–here, let’s include the department name field that we created. Click the custom field button again and then choose Department Name.
“Department is Friday, January 4 at 7 p.m. Hope to see you there.”
Sending your customized message
Now when you send out a campaign with custom fields, the fields will be replaced with the actual information.
So, this text may read something like, “Hi there Joe, our get-together for the marketing department is Friday, January 4 at 7 p.m. Hope to see you there.”
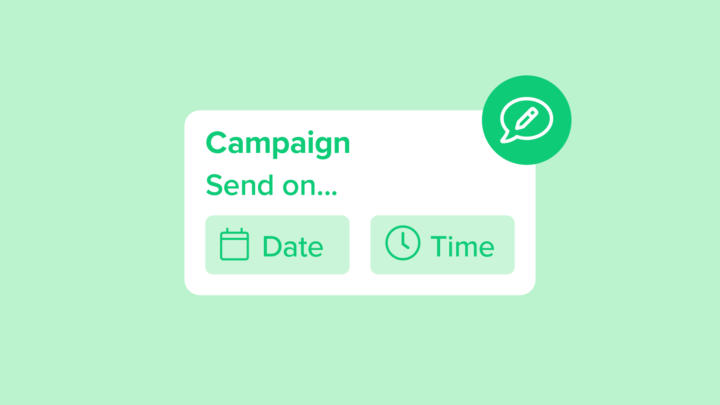
Just choose the list you want to send your message to, then click Next.
You can either schedule your campaign for later or send it immediately, and you’re done.
Now you know how to send mass texts while giving each one a personalized touch.