More Blog Posts
How to Send Repetitive Text Messages
Learn step-by-step instructions for three different ways to schedule repetitive text messages within SimpleTexting.

Learn step-by-step instructions for three different ways to schedule repetitive text messages within SimpleTexting.
Imagine if the only way to cook spaghetti was to drop each uncooked noodle in the pot one at a time.
Moral of the very tedious story, some tasks simply wouldn’t be worth it if there wasn’t a way to knock it out in as few steps as possible.
If you’re in a situation where you need to send repetitive text messages, the last thing you want to do is have to handle it manually.
Thankfully, there are a few automated solutions that allow you to send repetitive text messages in a few quick steps.
Within SimpleTexting there are four different ways to set up repetitive or recurring text messages. We’ll walk you through each method step-by-step.
If you’re looking to set up a series of follow-up repetitive texts, you have the option to schedule them ahead of time.
This method of automation was used by a research team at Wake Forest University who needed to send repetitive text message surveys to over 150 patients, multiple times a day.
Simply write your messages ahead of time and schedule them to send at whatever repeating increments fits your needs!
To schedule a message, follow these four quick steps:
1. Navigate to Messaging > New campaign. Once you’ve given your campaign a name, selected your intended recipients, and composed your SMS message, click Next.

2. On the next page, select the Clock icon.

3. Choose the date and time you want your message to be sent out, then click Set time. Take note of the time zone, which can be changed in your settings.
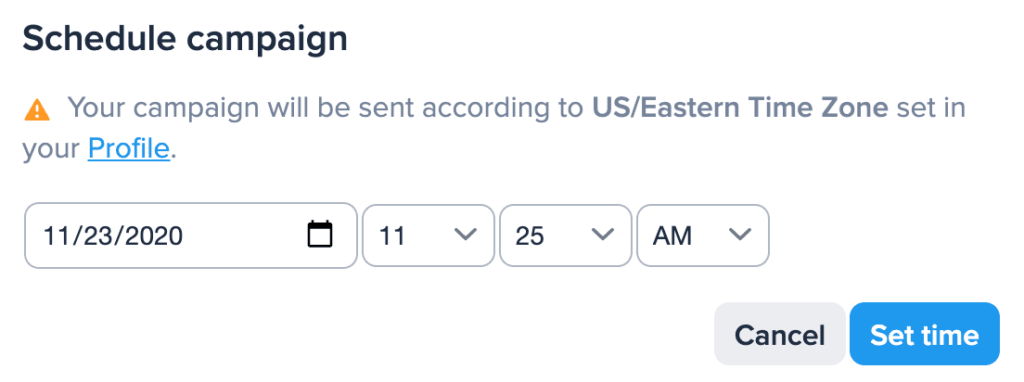
4. Double check the time and date, and your message, just to be sure. If everything looks good, click Confirm and schedule! Done. Our platform will take care of the rest.

After a subscriber joins your list you may want to follow up with a repeating series of messages or instructions. With autoresponders, you can send messages automatically after opt-in.
Schedule your autoresponders to send minutes, days, weeks, even months after a user subscribes!
Here’s how to set up an autoresponder within SimpleTexting
1. Click Autoresponders on the left-hand panel.

2. Click New autoresponder.

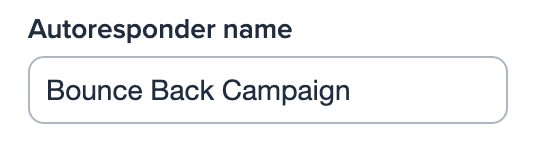
3. Give your autoresponder a name. This is just for your reference, your subscribers won’t see this. For example, “Bounce Back Campaign.”
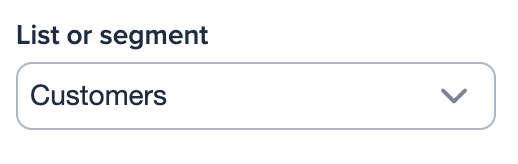
4. Next, select the list your autoresponder should go to. We’ll select our customers list. NOTE: Only new subscribers to the list will receive your autoresponders. Existing ones won’t.
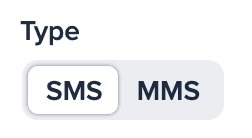
5. Set up your Autoresponder to be an SMS or MMS.
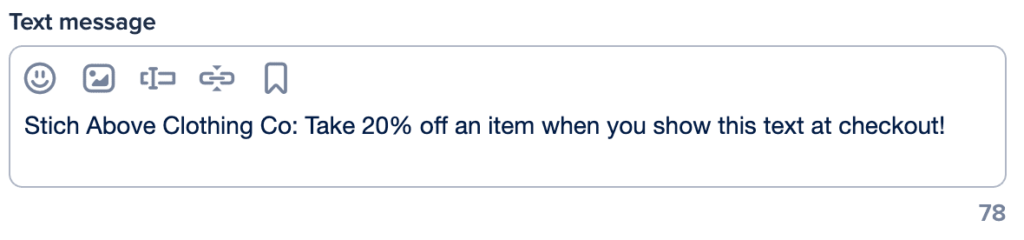
6. Type your message.
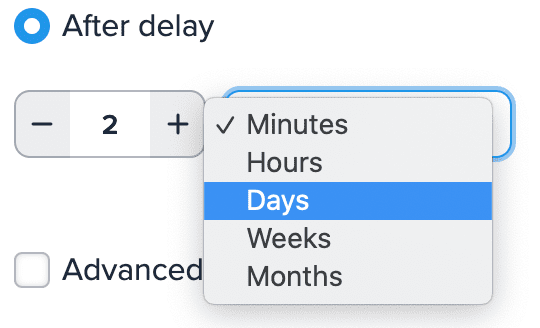
7. Next, select the delay. You can send your autoresponder minutes, hours, days, weeks, or even months after someone subscribes to your list.
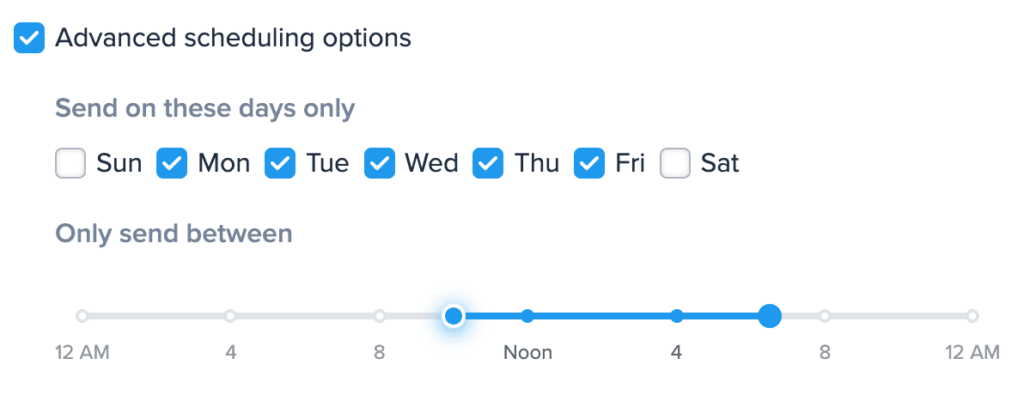
8. Add a delivery window. (This step is optional.) Here, you can set limitations on how late or early a text can be sent as well as the days of the week you’ll allow messages to be sent. If a user happens to subscribe outside of the delivery window, they’ll receive your autoresponder at the next available time.
9. Click Save autoresponder.

In the case of needing to send the same message over and over again, your best solution is to create a template.
You can use templates for campaigns, autoresponders, keyword confirmation messages, and individual replies in your inbox. Here’s how it works:
1. Click Campaigns on the left-hand panel of your dashboard, then click New Campaign.

2. Click Use template from the options in the message box.
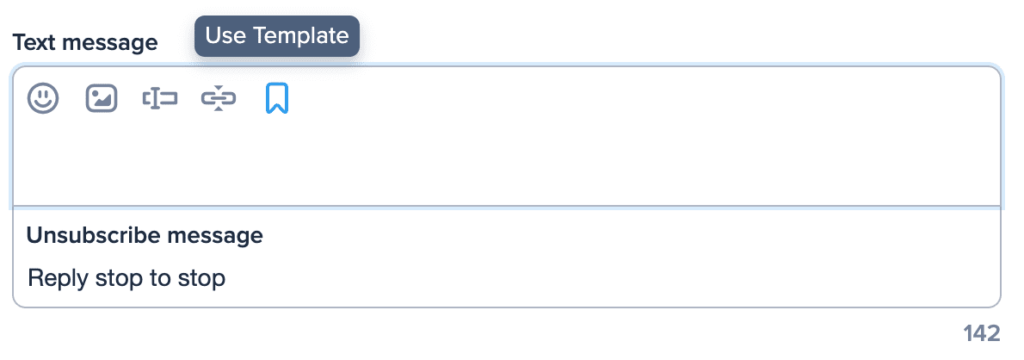
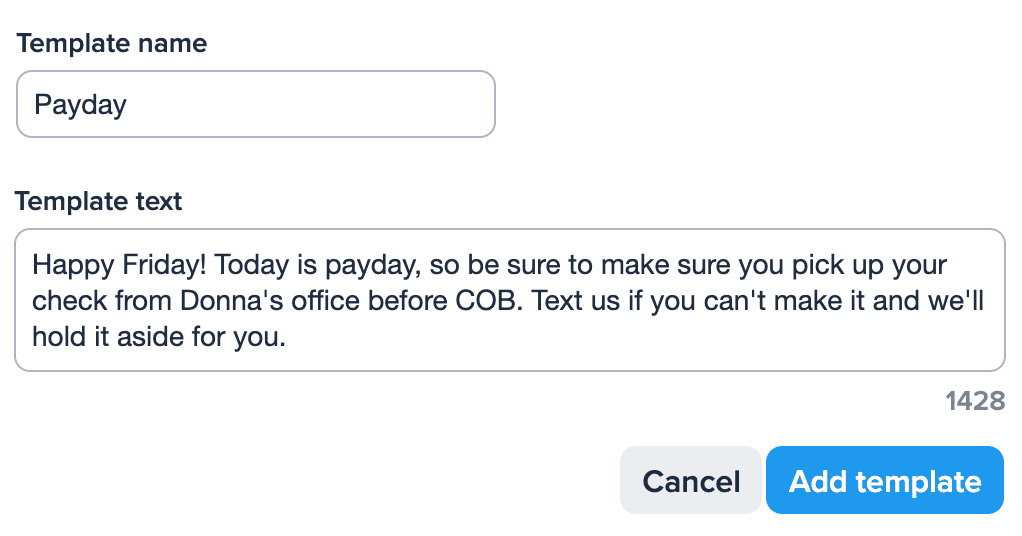
3. Click Add Template and give it a name for your reference.

4. Type out the message you wish to serve as your template. To save, click Add Template.
5. Done! Now, any time you want to use this message, all you have to do is click Use template again and select it. The text will automatically fill in to the message box, and you can send the campaign as you normally would.
Additionally, you could also choose to duplicate a campaign you have previously sent. Think of it like a text message copy and paste.
Here’s the scoop on duplicates:
1. Click on the Campaigns tab to view all of your existing campaigns.

2. Select the campaign you want to duplicate.
3. Click the “copy” symbol at the top right, next to the delete button.
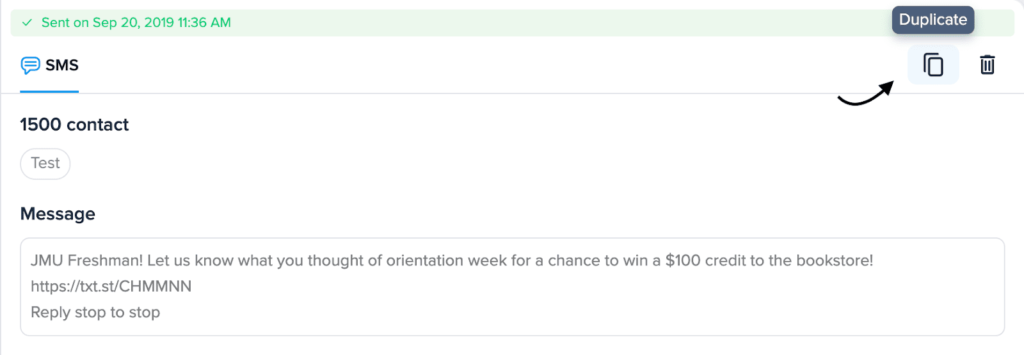
4. That’s it! Give your campaign a new name and send it.
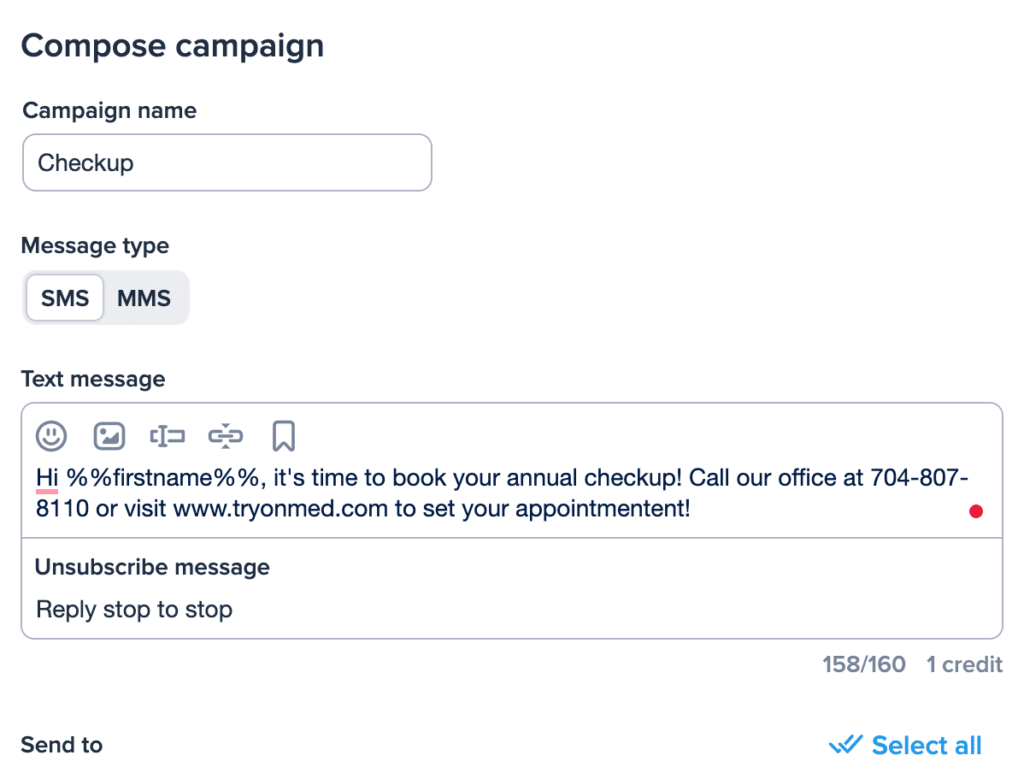
1. On the left-hand side of your dashboard, select Campaigns. Then, the blue New button at the top of the window.

2. Proceed as if you were creating a standard one-off campaign—give your campaign a name and type your message in the text message box. Then, select the audience you want to send to from the dropdown.
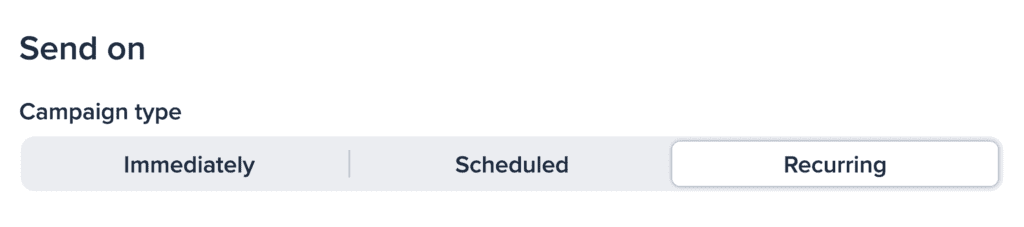
3. Scroll down and under “Send on”, select Recurring from the menu.
4. Select what date you want your campaign to start sending, then specify the time you’d like your message to go out. For example, if you wanted to send your message every day at 8 am, you would enter 0800 (the: will be entered automatically).

5. Under Repeats, select “Daily”.

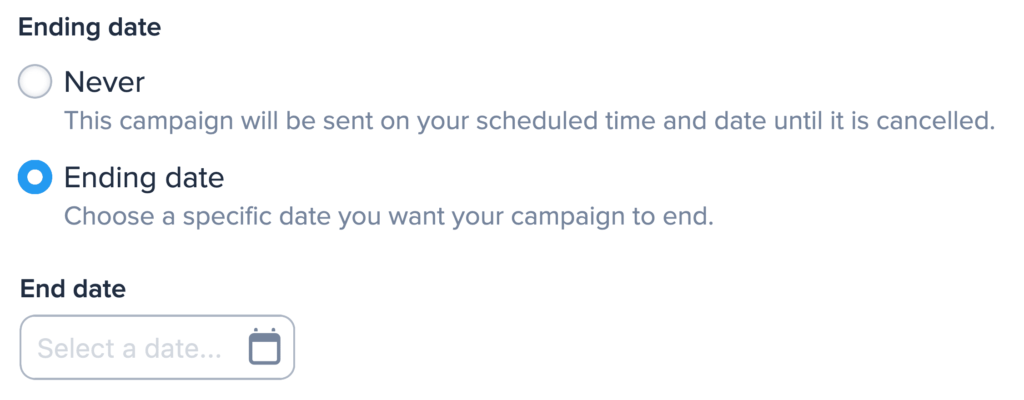
6. If you have a set time for your daily messages to stop sending, select the Ending date button and pick a date from the calendar below. If it’s open-ended, choose Never.
7. Select Next

8. Review your scheduled messages, and if everything looks good, press the blue Schedule button. You’re done!

To learn how to end your series, as well as other tips, check out this detailed article on recurring campaigns.
Meghan Tocci is a content strategist at SimpleTexting. When she’s not writing about SaaS, she’s trying to teach her puppy Lou how to code. So far, not so good.
More Posts from Meghan TocciYou might be familiar with the idea of read receipts when texting friends or family. Gain the same insight into your SMS campaigns using an SMS delivery report. Here’s how SMS delivery reports work and what you can do to improve SMS delivery rates.
ReadNot sure what texts to send? Introducing the PASTA framework — a method for choosing the types of texts that’ll keep your subscribers engaged.
Read


Start a text marketing campaign or have a 1-on-1 conversation today. It's risk free. Sign up for a free 14-day trial today to see SimpleTexting in action.
No credit card required